How To Fix Windows Key Not Working: A Step‑by‑Step Guide
If the Windows key suddenly stops responding, many users assume the problem is hardware‑related. While a faulty keyboard can be the cause, software settings, driver issues, or third‑party utilities are often to blame. This article walks you through the most common reasons the Windows key may fail and provides clear, actionable steps to restore its functionality.
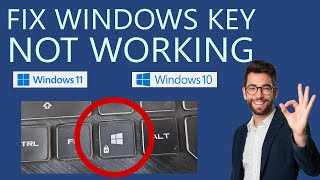
1. Check the Physical Keyboard
Before diving into software, confirm that the key itself is not stuck or damaged.
- Inspect the keycap. Gently pry the Windows key with a thin tool to see if debris is lodged underneath.
- Test with another keyboard. Connect a different keyboard to the same computer. If the Windows key works, the original keyboard likely needs cleaning or replacement.
- Try an external keyboard. On laptops, plug in a USB keyboard. A working Windows key on the external device confirms the issue is not with the operating system.
2. Verify Keyboard Settings in Windows
Windows includes settings that can disable the Windows key, either intentionally (for gaming) or unintentionally.
Check the “Filter Keys” option
- Press Ctrl + Shift + Esc to open Task Manager.
- Click File → Run new task, type control, and press Enter.
- Navigate to Ease of Access → Keyboard.
- Ensure Filter Keys is turned off. When enabled, it can ignore brief key presses, including the Windows key.
Disable Gaming Mode or Keyboard Shortcuts
Some laptops and gaming keyboards have a dedicated “Gaming Mode” that disables the Windows key to prevent accidental presses during gameplay. Look for a function key (often Fn + F9 or similar) or a dedicated switch on the keyboard and toggle it off.
3. Update or Reinstall Keyboard Drivers
Outdated or corrupted drivers can prevent the Windows key