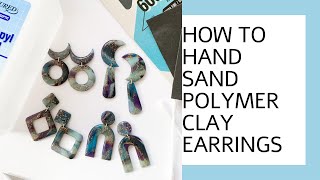
How To Polish Polymer Clay Jewelry Without A Dremel Tool
Polymer clay jewelry can look stunning when its surface is smooth, glossy, and free of tiny scratches. While a Dremel tool is a popular choice for achieving a high‑shine finish, many crafters prefer a quieter, less‑expensive approach. This guide walks you through the step‑by‑step process of polishing polymer clay jewelry without a Dremel, using tools you likely already have in your studio.
Materials You’ll Need
- Fully cured polymer clay pieces (baked according to manufacturer’s instructions)
- Fine‑grit sandpaper (400, 600, 800, and 1200 grit)
- Micro‑fiber polishing cloths or soft cotton rags
- Clear acrylic or resin polish (commercially available or homemade)
- Wax polish or a small amount of mineral oil
- Rubber gloves (optional, for handling chemicals)
- Dust mask (recommended for sanding)
Preparing the Clay Surface
1. Inspect and Clean
Before you begin polishing, examine the piece for any visible imperfections such as fingerprints, dust, or glaze bubbles. Gently wipe the surface with a dry micro‑fiber cloth to remove loose particles. If the piece is particularly dusty, a light brush with a soft paintbrush will suffice.
2. Choose the Right Sandpaper Sequence
Polishing starts with sanding, which smooths out the microscopic ridges left by the bake. Use a progressive sanding method:
- 400‑600 grit: Lightly sand any high spots or rough edges. Move the sandpaper in circular motions to avoid linear scratches.
- 800 grit: Refine the surface, reducing the visible lines from the previous grit.
- 1200 grit: Finish sanding with a very fine grit to create a uniform, matte base ready for polish.
Keep the sandpaper slightly damp (a few drops of water) to minimize dust and to achieve a smoother finish. Work in a well‑ventilated area and consider wearing a dust mask.
Polishing Techniques Without a Dremel
Using a Polishing Cloth
After sanding, the most straightforward method is to use a clean micro‑fiber polishing cloth:
- Apply a few drops of clear acrylic polish to the cloth.