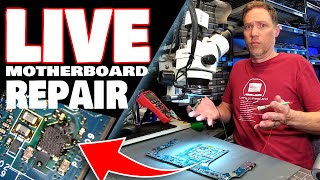
How To Repair Laptop: A Step‑by‑Step Guide for Common Issues
If your laptop is acting up, you don’t always need to replace it. With the right tools and a systematic approach, many problems can be fixed at home. Below is a practical guide that walks you through diagnosing and repairing the most frequent laptop issues.
1. Gather the Essential Tools
Before you start, make sure you have a basic toolkit. The following items cover most repair scenarios:
- Screwdriver set – Phillips #0 and #00 are the most common sizes.
- Anti‑static wrist strap – Prevents damage to sensitive components.
- Plastic spudger – Useful for prying open cases without scratching.
- Thermal paste – Required when reinstalling a CPU or GPU heat sink.
- Compressed air canister – For cleaning dust from fans and vents.
- Multimeter – Helps test power supply and circuitry if you suspect a hardware failure.
Today I show you how to use these tools efficiently while keeping your laptop safe.
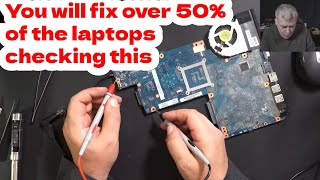
2. Identify the Problem
Start with a quick visual inspection and basic tests. This step saves time by narrowing the scope of repair.
- Check the power adapter and cable for visible damage.
- Plug the laptop into a known‑good outlet and watch for any charging indicator.
- Press the power button while holding the reset pinhole (usually located on the bottom) for 10 seconds.
- If the laptop powers on but the screen stays black, connect an external monitor to isolate a display issue.
If the laptop powers off unexpectedly or shows error beeps, note the pattern – it often points to memory or motherboard problems.
3. Common Repairs and How to Perform Them
3.1 Replacing a Faulty Battery
Battery degradation is a leading cause of sudden shutdowns. Follow these steps:
- Power off the laptop and unplug all cables.
- Remove the back cover using the appropriate screwdriver.
- Locate the battery connector and gently disconnect it.
- Slide the old battery out and replace it with a compatible unit.
- Reassemble the case and test the laptop with the new battery.
3.2 Cleaning Overheating Fans
Excess dust can cause thermal throttling and unexpected reboots.
- Open the bottom panel as described above.
- Hold the fan blades in place and spray short bursts of compressed air.
- Wipe any remaining residue with a lint‑free cloth.
- Apply a thin layer of fresh thermal paste if you remove the heat sink.
3.3 Fixing a Broken Keyboard
Keycap removal is simple, but a deeper issue may