How To Waterproof A Papier Mache Sculpture For Outdoor Use
If you love DIY art projects, a papier mache sculpture can be a stunning addition to any garden. However, the elements—rain, humidity, and sunlight—can quickly damage an unprotected piece. This guide walks you through a reliable, step‑by‑step process to waterproof a papier mache sculpture so it can survive outdoors for seasons to come.
Why Waterproofing Matters
Paper is naturally porous. When it absorbs water, it swells, softens, and eventually disintegrates. A well‑applied waterproof coating creates a barrier that prevents moisture from reaching the paper fibers while still allowing you to keep the sculpture’s texture and color.
Materials Needed
- Completed papier mache sculpture (air‑dry clay core is optional)
- Fine‑grade sandpaper (120 grit)
- Primer (oil‑based or acrylic)
- Two experimental waterproofing recipes (see below)
- Paintbrushes (synthetic for water‑based, natural‑bristle for oil‑based)
- Clear exterior sealant (polyurethane or spar urethane)
- Protective gloves and a mask
- Drop cloth or newspaper
Step 1: Prepare the Surface
Start by gently sanding the sculpture’s surface with 120‑grit sandpaper. This removes any loose fibers and creates a smooth base for the primer. Wipe away dust with a dry cloth before moving on. A clean surface ensures the waterproofing layers adhere evenly.
Step 2: Apply a Primer
Primer is the foundation of any waterproofing system. It seals microscopic pores and improves the bond of subsequent coats. Choose an oil‑based primer for maximum durability, or an acrylic primer for a low‑odor, faster‑drying option.
- Spread a thin, even coat of primer over the entire sculpture using a synthetic brush.
- Allow the primer to dry completely—typically 30 minutes for acrylic, up to an hour for oil‑based.
- If the surface feels uneven, lightly sand with fine sandpaper and re‑apply a second coat.
Step 3: Choose a Waterproofing Method
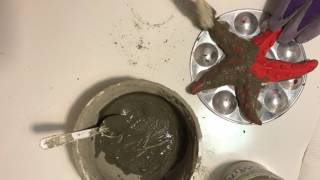
In my recent experiments, I developed two recipes that work well on papier mache. Both are DIY‑friendly and can be mixed at home.
Recipe A: Resin‑Wax BlendIngredients:
- Clear epoxy resin (2 parts)