What Is a Minecraft Skin Maker?
A Minecraft Skin Maker is a web‑based or desktop tool that lets players design and edit the texture that appears on their character’s body. The skin file is a 64 × 64 pixel PNG (or 128 × 128 for higher‑resolution packs) that maps directly onto the player model. By using a skin maker you can create a completely unique look without needing any programming knowledge.
Why Use a Minecraft Skin Maker?
Creating custom skins gives you a personal touch in multiplayer worlds, role‑playing servers, and community contests. Here are the main advantages:
- Instant visual identity: Your avatar stands out among thousands of players.
- No coding required: The interface handles pixel placement, color selection, and layering.
- Fast iteration: Changes are previewed in real time, so you can experiment without restarting the game.
- Community sharing: Most skin makers let you export or upload your design for others to download.
Step‑by‑Step Guide to Creating Your First Skin
Below is a practical workflow that works with any popular Minecraft Skin Maker, whether it’s a browser tool or a downloadable program.
1. Choose a Skin Maker Platform
Popular options include:
- Online editors such as Skindex or Nova Skin.
- Standalone applications like Minecraft Skin Studio for Windows, macOS, and Linux.
- Mobile apps for Android and iOS that let you design on the go.
Pick the one that matches your device and preferred workflow.
2. Start a New Canvas
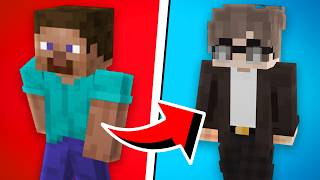
When you open the editor, select “New Skin” or “Create from Template.” Most tools provide a blank canvas and a few starter templates. If you’re new, begin with the default “Steve” or “Alex” model to understand the body layout.
3. Pick Your Colors and Tools
Most skin makers offer a color palette, gradient picker, and an eyedropper for sampling existing pixels. Use the brush size selector to switch between fine details (