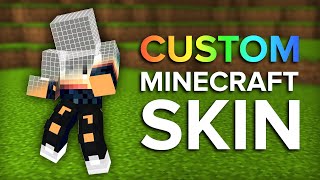
What Is a Minecraft Skin?
A Minecraft skin is the visual texture that covers a player’s character model in the game. It determines the appearance of the avatar from head to feet, and it can range from simple color changes to detailed, hand‑drawn artwork. Skins are stored as a single 64 × 64 PNG file (or 128 × 128 for newer models) and are loaded each time the player joins a server or world. Because skins are purely cosmetic, they do not affect gameplay mechanics.
How to Create a Custom Minecraft Skin
Designing a custom skin gives you full control over the look of your character. You can use any image‑editing program that supports transparency, such as GIMP, Paint.NET, or Photoshop. Below are the basic steps to create a skin from scratch.
- Download a template. Official Minecraft templates are available on the Mojang website. The template shows the layout of each body part (head, torso, arms, legs) and helps you keep proportions correct.
- Choose a base color. Fill the entire canvas with a solid color that will serve as the background for your design. This step makes it easier to see where you are painting.
- Draw the details. Use layers to add facial features, clothing, or accessories. Remember that the front, back, and sides of each body part are separate sections of the PNG file.
- Check transparency. Any pixel left transparent will show the default Minecraft texture underneath. Ensure that unwanted transparent areas are filled before saving.
- Save as PNG. Export the finished image at 64 × 64 (or 128 × 128 for the new model) without compression artifacts. The file is now ready to be uploaded.
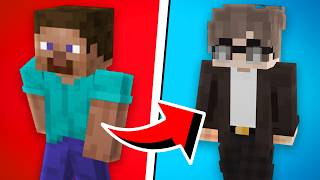
Step‑by‑Step Guide to Changing Your Skin on PC
Once you have a PNG file, changing your skin on the PC version of Minecraft is straightforward. Follow these instructions to update your avatar.
- Log in to your Mojang or Microsoft account. Open a web browser and go to the official Minecraft profile page.
- Navigate to the skin section. The page will display your current skin and offer an “Upload Skin” button.
- Select your file. Click “Choose File” and locate the PNG you created. The site will automatically verify the dimensions.
- Choose the model type. If you used a 128 × 128 file, select the “Alex” model; otherwise, the default “Steve” model applies.
- Save and apply. Press “Upload” and wait for the confirmation message. Launch Minecraft, and your new skin will appear the next time you join a world.
Tips for Designing Unique Skins
Creating a skin that stands out can be as simple as adding