Minecraft Skins: Customize Your Avatar
Minecraft, the popular sandbox game, allows players to customize their in-game avatars through the use of skins. These skins are graphical representations of the player character, and they can be changed to reflect personal preferences, creativity, or even real-life identities. In this article, we will explore the concept of Minecraft skins, their uses, and how to create and apply them.
What Are Minecraft Skins?
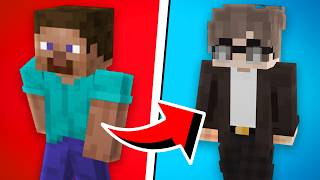
Minecraft skins are 64x64 pixel images that players can use to customize their in-game avatars. These images are applied to the player's character, replacing the default skin. The skin includes various parts of the character, such as the head, torso, arms, legs, and sometimes additional accessories like capes or elytra.
Why Use Minecraft Skins?
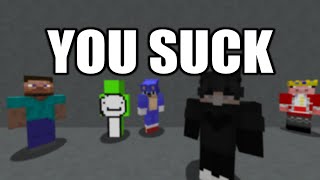
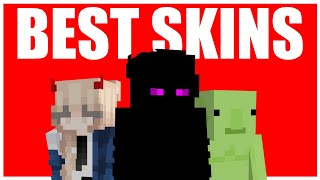
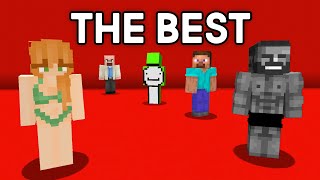
There are several reasons why players might want to use Minecraft skins. Firstly, skins allow players to express their individuality and creativity. With a vast array of skins available, players can choose one that suits their personality or interests. Additionally, skins can be used to represent real-life identities, such as famous characters, historical figures, or even fictional characters.
Moreover, skins can be used to enhance gameplay. For instance, certain skins might provide a visual advantage in certain situations, or they might be designed to fit a specific theme or mod. Furthermore, skins can be used to create a sense of community and shared identity among players.
How to Create a Minecraft Skin
Creating a Minecraft skin is a straightforward process. There are several tools and websites available that can help players create their own skins. Some popular options include:
- Minecraft Skin Editor: This is a built-in tool in Minecraft that allows players to create and edit their skins. It provides a simple interface with various options to customize the skin.
- Online Skin Creators: There are numerous online tools and websites that offer skin creation services. These tools often provide a wider range of customization options and templates.
- Graphic Design Software: Players with some graphic design skills can create their skins using software like Photoshop, GIMP, or even Paint. The key is to ensure the image is 64x64 pixels and follows the Minecraft skin template.
How to Apply a Minecraft Skin
Once a player has created or obtained a skin, the next step is to apply it to their Minecraft account. This process can be done through the Minecraft Launcher or the official Minecraft website. Here are the steps:
- Log in to your Minecraft account: This can be done through the Minecraft Launcher or the official Minecraft website.
- Navigate to the Skin section: In the Minecraft Launcher, this can be found under the "Skins" tab. On the official website, it can be accessed through the "Profile" section.
- Upload your skin: Click on the "Upload" or "Change Skin" button and select the image file of your skin.
- Confirm the upload: Once the skin is uploaded, confirm the changes. The skin will now be applied to your Minecraft character.
Tips for Creating and Using Minecraft Skins
While creating and using Minecraft skins, there are several tips that can help players make the most of this feature:
- Follow the Minecraft Skin Template: To ensure the skin is applied correctly, it's important to follow the Minecraft skin template. This includes the correct dimensions, color scheme, and placement of different body parts.
- Use High-Quality Images: While the skin only needs to be 64x64 pixels, using a high-quality image can result in a better-looking skin.
- Experiment with Different Styles: Don't be afraid to experiment with different styles and designs. Minecraft skins can be as simple or as complex as you want.
- Consider the Skin's Use: Think about how you plan to use the skin. If it's for a specific theme or mod, make sure it fits well with that context.
Conclusion
Minecraft skins are a fun and creative way to customize your in-game avatar. They allow players to express their individuality, enhance gameplay, and create a sense of community. With a variety of tools and resources available, creating and applying a Minecraft skin is a straightforward process. So, why not give it a try and see what kind of avatar you can create?